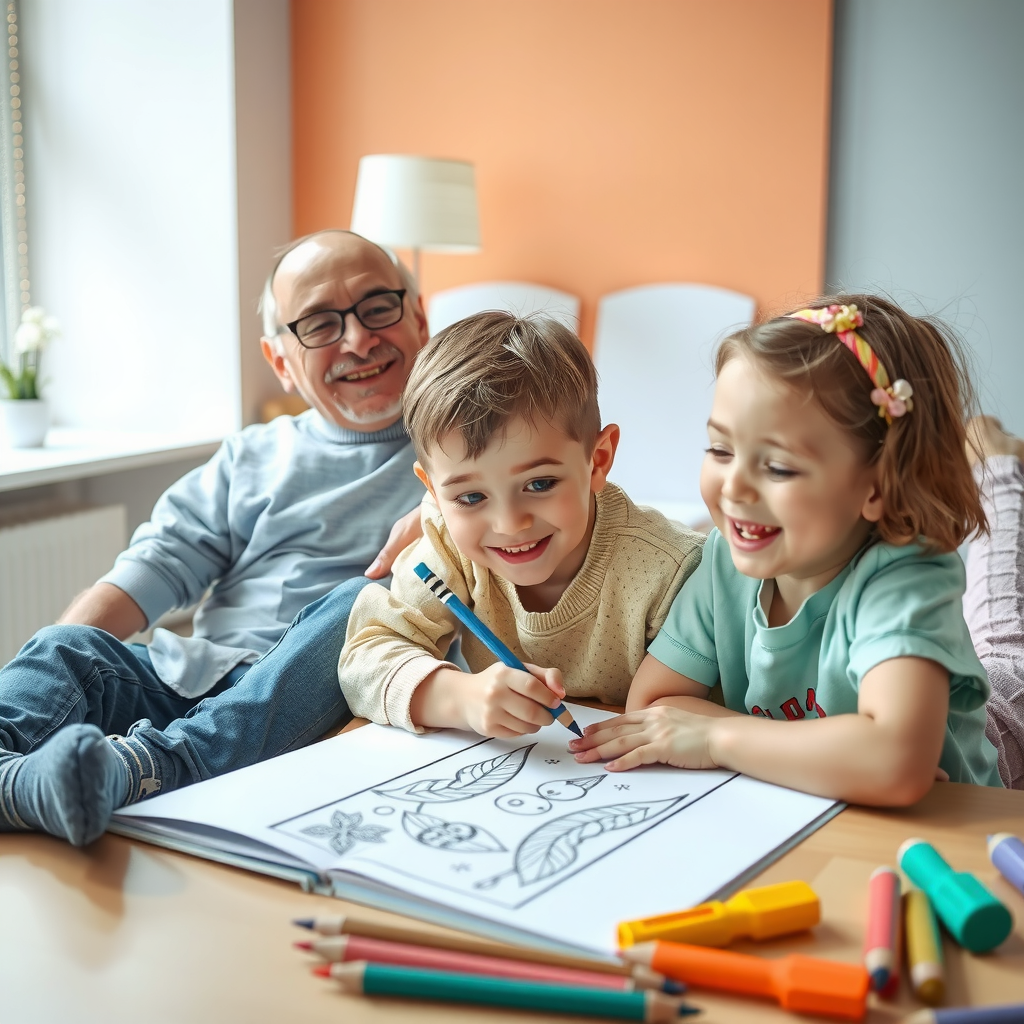
Hello there! If you found this page it’s probably because you are looking for tried and true kids activities anyone can do, day in and day out on rinse and repeat. Well look no further as I’ve listed out here several ways to mix up classic craft activities you can do today with stuff that probably anyone with kids has available. Let’s get into it!
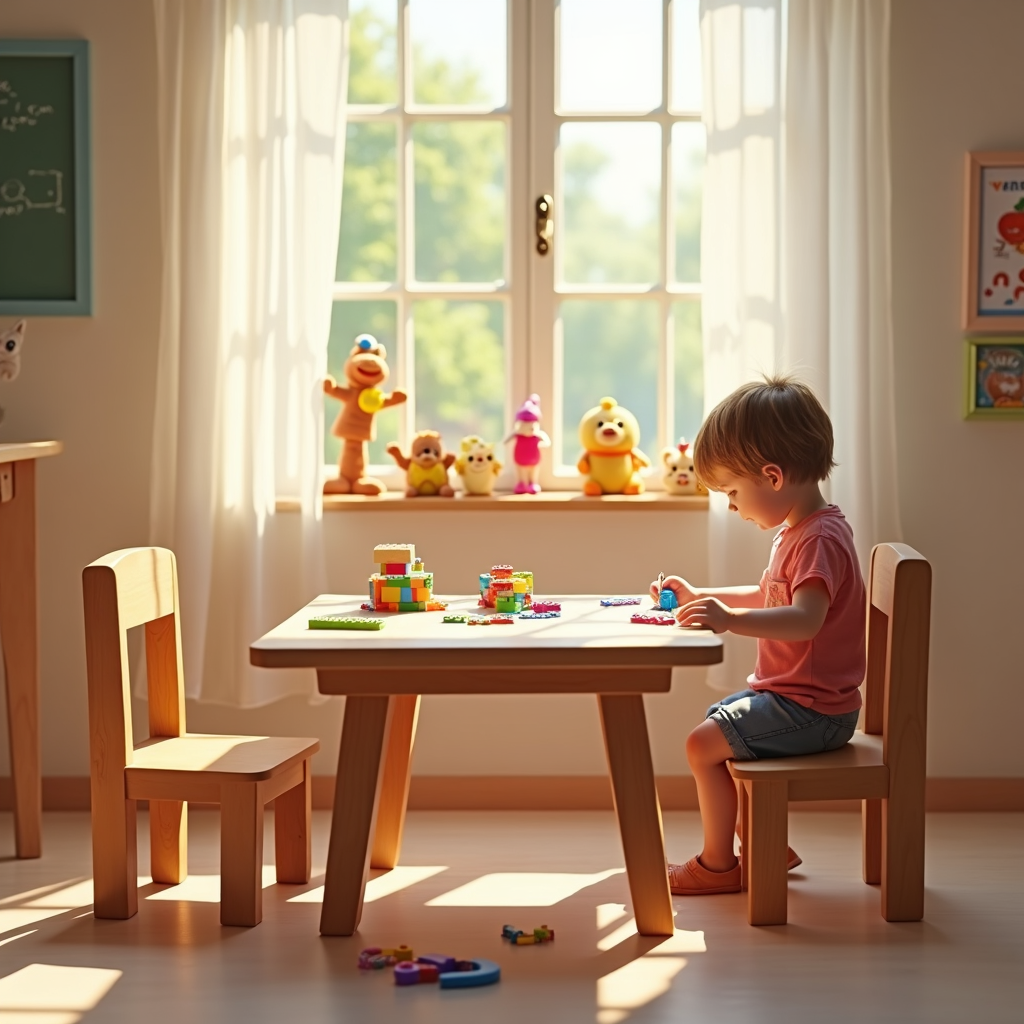
So when I’m talking about craft here i mean really just sit down on the table or chair, maybe a garden if you are lucky and the weather allows kind of play. Think colouring pencils, scissors, stick of glue or blocks and lego. Boring, I know, and lots of kids even dislike craft play, but do you know why that is? Probably because they don’t know what to do with it, or they’ve been told how and it always gets the same results. Which is the main reason I’ve written this post, below you’ll find tips to clean up + tips to avoid mess as well as a list of ideas of how to incite both independent and collaborative craft play with your little ones.
- Colouring
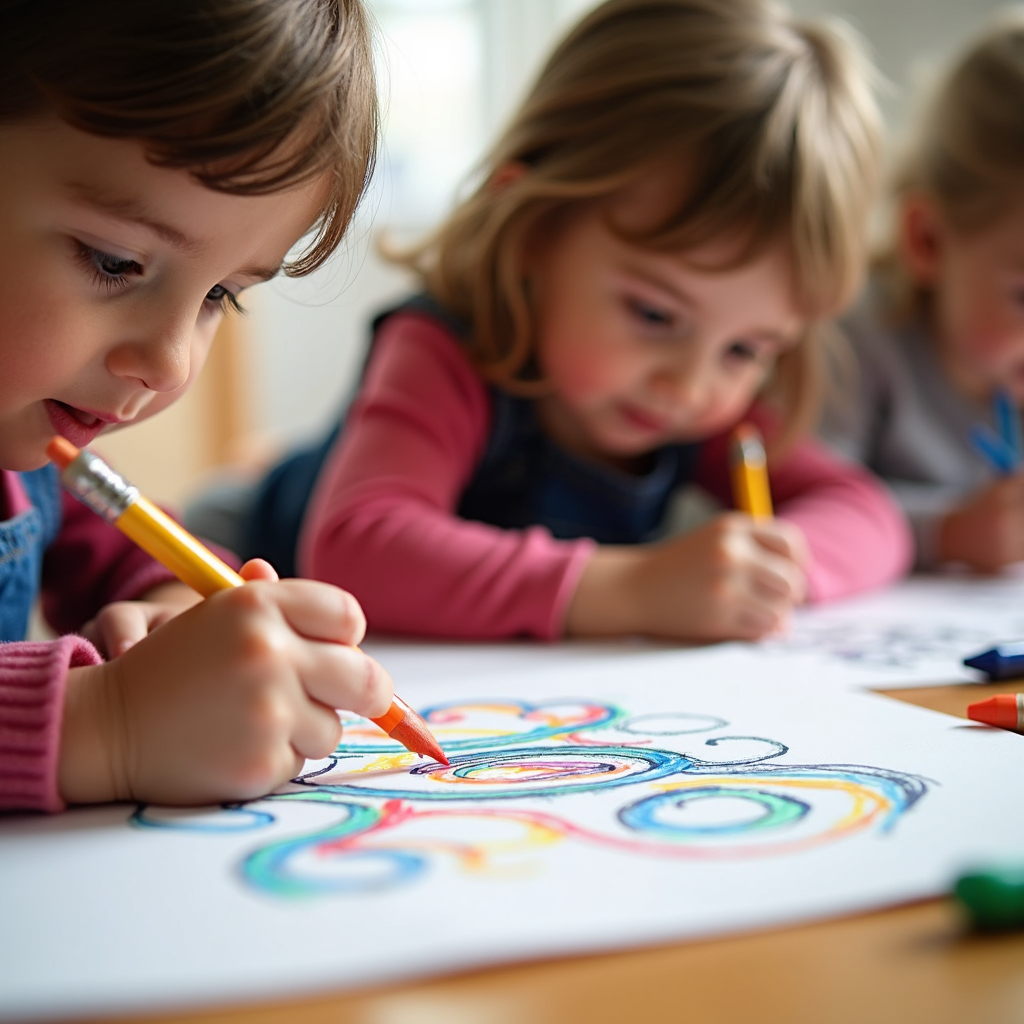
Whether you have crayons, colouring pencils, paint or markers, it really doesn’t matter, some kids just aren’t excited about colouring. I speak from experience as I have a little artist and a little skeptic who has trouble starting but produces beautiful things once he gets into it.
So to keep things fresh for this little guy I’ve tried and tested these variations below:
- Challenge them: this one works everytime as both my boys tend to have a little competitive spirit them and it gets them excited about the activity before it even starts. Some examples of this are: -Opposite Colour Day (paint/colour everyday objects the opposite colour: sky is green, grass is blue) -Monochrome(colour using only one colour, best when mixing materials such as colouring pencils and markers)
- Colour by numbers DIY (if you are not using paint by number colouring pages an easy way to recreate it is to chose a simple image, 3-4 colours and help your child by setting it up. This can be easily done by writing a number in that colour on the top of the page or by writing a number and sticking it on the pencil for them to remember. Then all you have to do is quickly draft up the numbers on the page, the simpler the image the quicker this will be. ALSO remember these colours don’t have to make sense, unless you really want that, be adventurous, the results are fun regardless My oldest spends hours focused on these!)
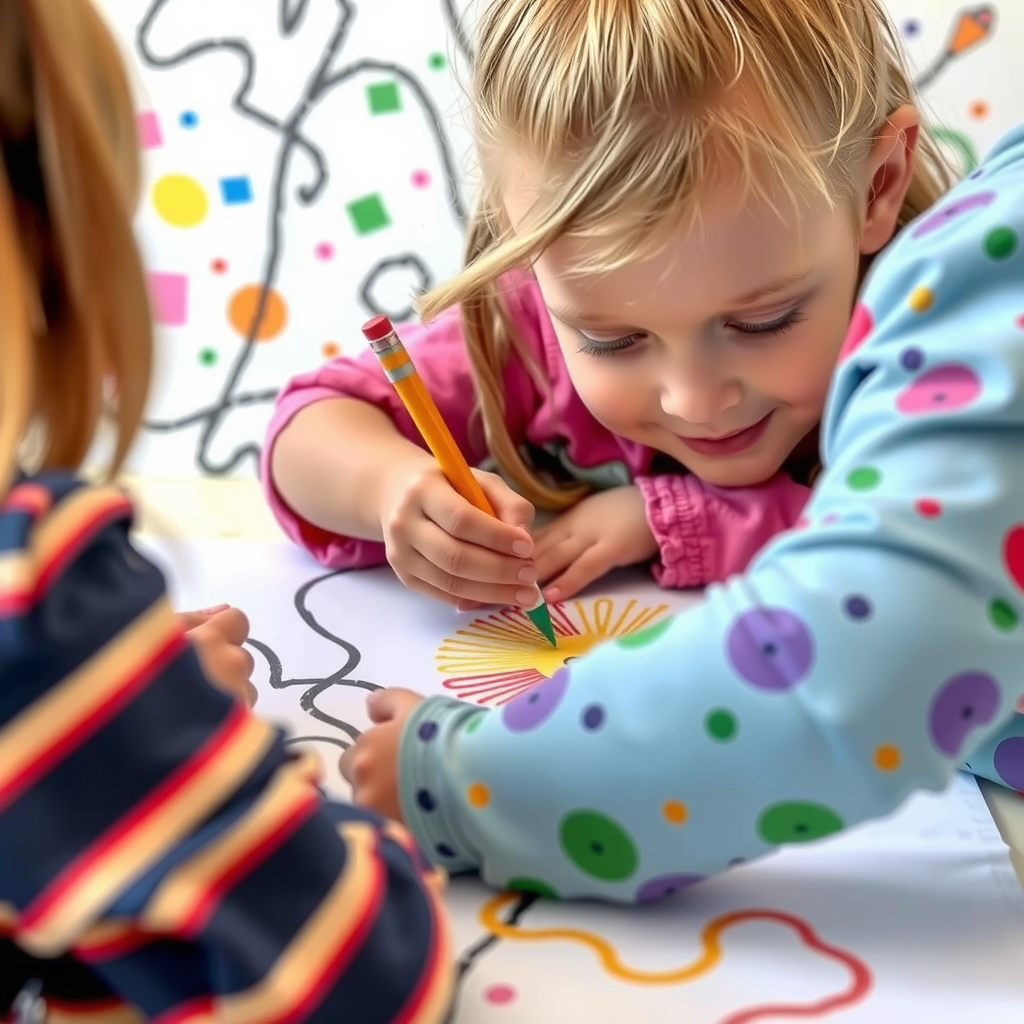
- Squiggle Art- this one is really cool and turns out unexpectedly artsy every time. Simply use a bigger/darker pencil (preferably black) or a marker and squiggle largely and including big circles and looping back, alternatively go sharp and edgy but always close up edges to have areas to fill. Then have your kids colour it in as they wish!
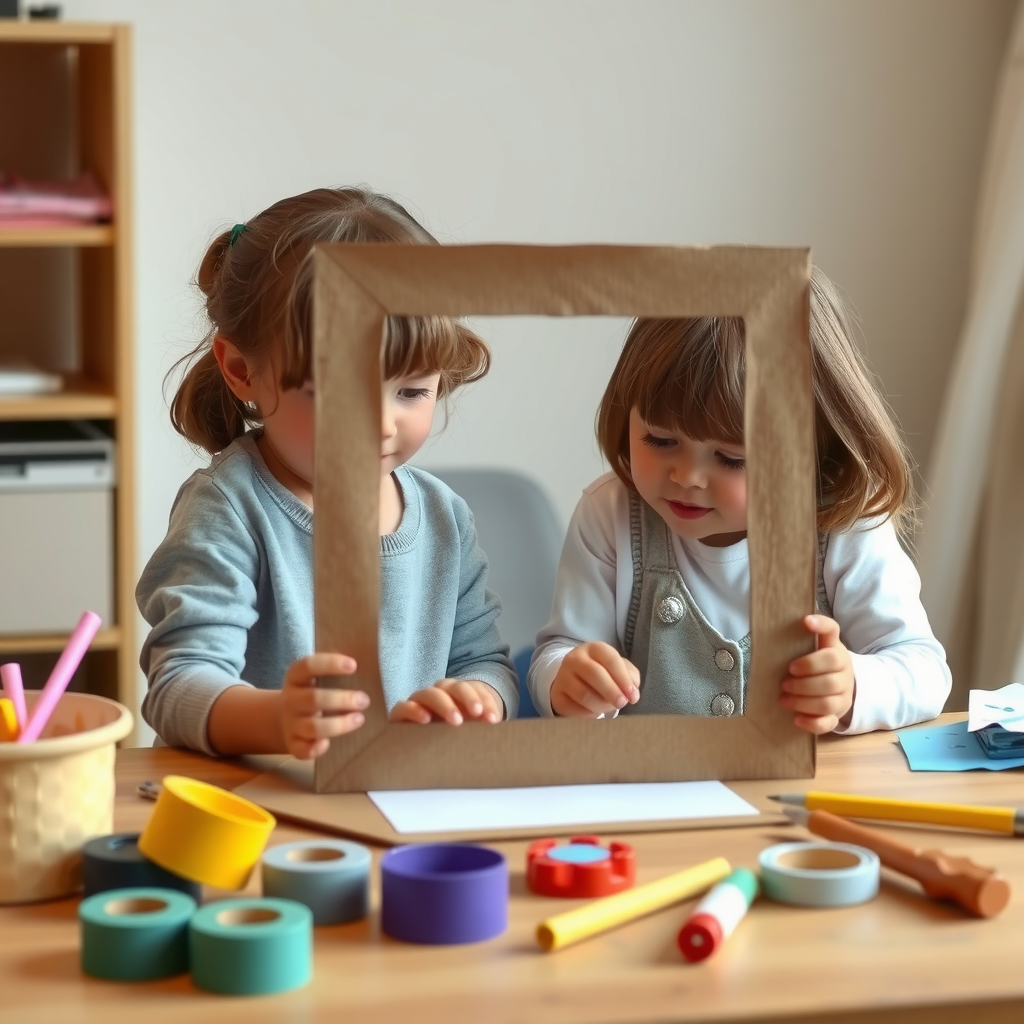
- Create a frame. Ever heard the phrase “Make room and they will come”, well this works the same way, create a frame and in no time at all, they’ll want to fill it with something. Use water you have at hand, scissors, pom poms, cut out papers, sponges, glitter whatever you’d like really. Simply cut out a square or round frame from cardboard, any size you’d like. Then cut out the inner bit, the window if you’d like by folding it in half and cutting the shape once more but smaller this time. After that set up your choice of craft materials and have your kids at it. Afterwards tell them you need to fill the frames so you’d like them to think about what should go in the frame and voila! 2 activities in 1.
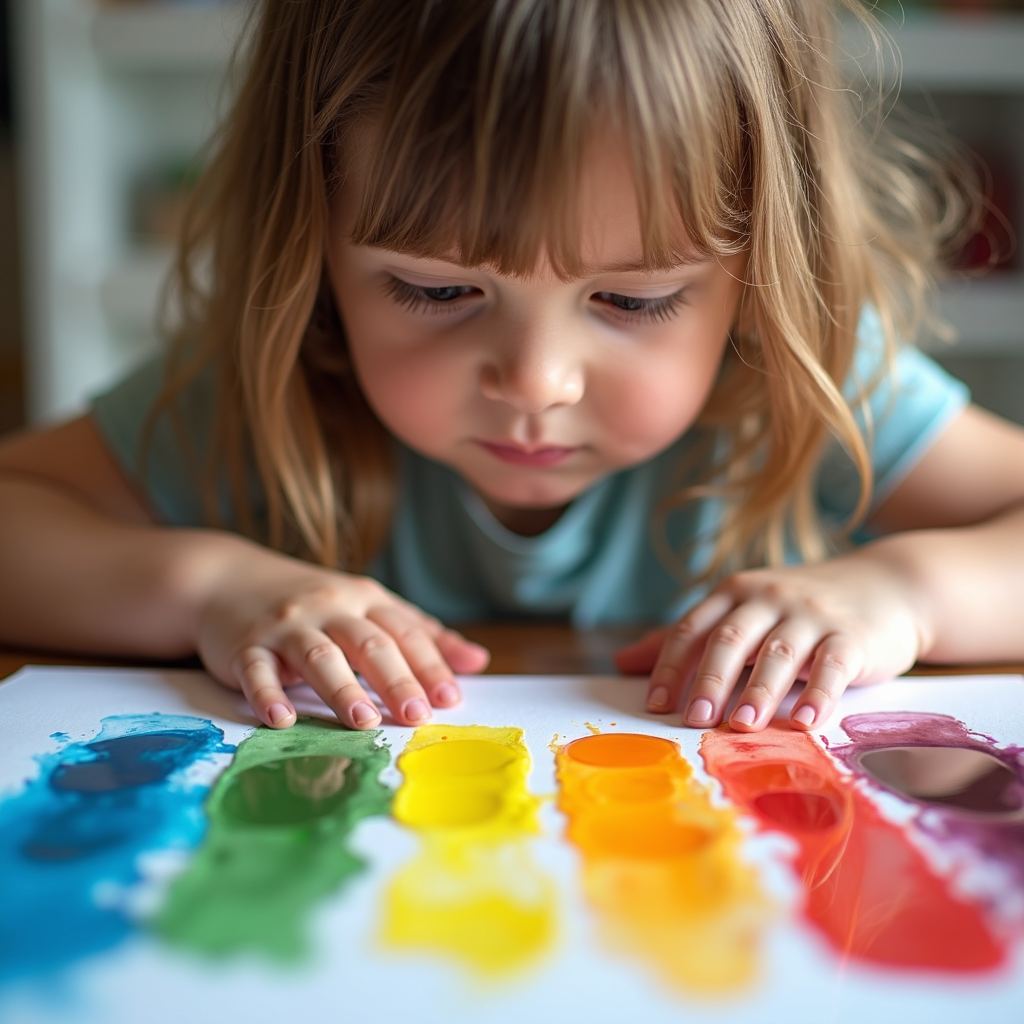
- Colour Mix Experiments: best achieved with paint but if you don’t want a mess and don’t want to have to clean up you can still do this with markers or colour pencils. Start by giving your kids 3 colours to mix and if they are still keen to continue add another 3 colours at a time until the activity ends or you run out of colours. Tip: if using paint opt for an egg carton or a palette to put the colours in, a benefit of that is that the colours are near eachother, plus it makes clean up easier.
- Ice block experiment: have your kids help you or prepare in advance. Get an ice tray or silicone moulds, fill it up with water as you normally would but add a drop of food colouring, ground up chalk or colourful spices (paprika, turmeric, etc) and set to freeze. Once the ice is ready, if it’s a hot day have your kids play outside with a sheet paper or inside in a tray or with a towel under (to avoid a mess). Have them use the ice to colour the paper while using tools or their hands to spread and melt it to create patterns and blends. If you are lucky to have big sheets of paper or even packaging brown paper use it as the result of these make lovely wrapping paper alternatives.

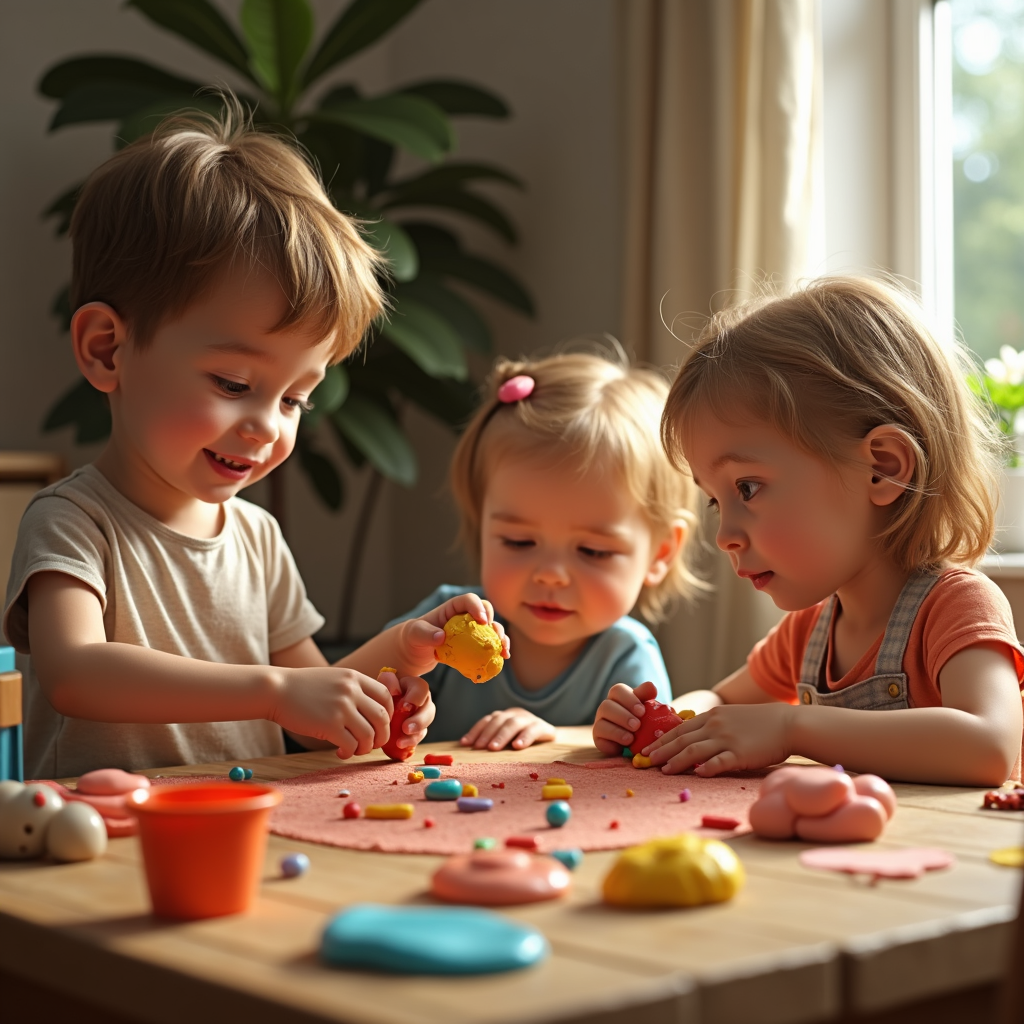
2. Playdough:
I think playdough is a staple that pretty much everyone with children at home has brought out at some point in the hopes of gaining a few minutes of independent play. If you don’t or if yours is dried out and gross, just keep reading. We will make our own as one of the activities or use ready playdough for the rest. The beauty of playdough is that it is easy and cheap to re-stock or whip up with simple cupboard staples, so use whatever you have at hand. Let’s get to it:
- DIY Playdough:
When i first checked this out a few decades back I found so many simple recipes, like mix conditioner and cornflour, and looking back at it recently all of the recipes I found take cream of tartar, which is great as it lasts for months longer than the original 1 week before moulding. But… let’s be honest not a lot of people have cream of tartar at the ready (unless of course you are a baker), so I was stumped. Below I’ve included a super simple recipe and a fancier one if you have the ingredients for it.
- Sand
- Magnets
- Dress up
- Lego/Blocks
-Original mix:
1 cup of flour
1/2 cup of salt
1/2 cup of water
1 tsp of oil for kneading
Food colouring of choice
Mix food colour in the water first, or keep it for last if you want to split it up into balls and then mox colour, but this will be slightly messy (use gloves, if you prefer).
Mix dry ingredients well and then slowly pour the wet ingredients while mixing well until a dough forms. You can do this my mixing in a bowl or by kneading it on a non stick surface, I like putting a sheet of baking paper underneath to avoid a mess.
If the dough seems a bit dry use 1 tsp of oil to create a smoother texture by kneading it into the dough. Store in cling film and airtight container for about a week.
-Advanced recipe:
1 cup of flour
1/2 cup of salt
2 tsp cream of tartar
1 Tbsp oil
1 cup boiling water
Food colouring of choice
Mix colouring and boiling water in a separate container and store away. Alternatively do the same as above and separate into balls before adding each colour.
Mix dry ingredients in a big bowl, add the oil first to the dry ingredients and mix.
Slowly add the colourful water to the dry ingredients with the oil and keep mixing/kneading with a large spoon until a ball of dough forms in the bowl and the sides come off clean.
At this point if the dough still feels very sticky you can add an extra 2 Tbsp of flour for a smoother texture.
Wait until the dough has cooled off then knead for a few minutes. If you still want a smoother consistency add 1tsp of oil to the dough as you knead and that should do the trick.
Store in an airtight container for about 6 months or until it hardens. Note- it will dry out eventually if left out uncovered.
Congrats! You’ve got your medium now, so let’s try some variations below:
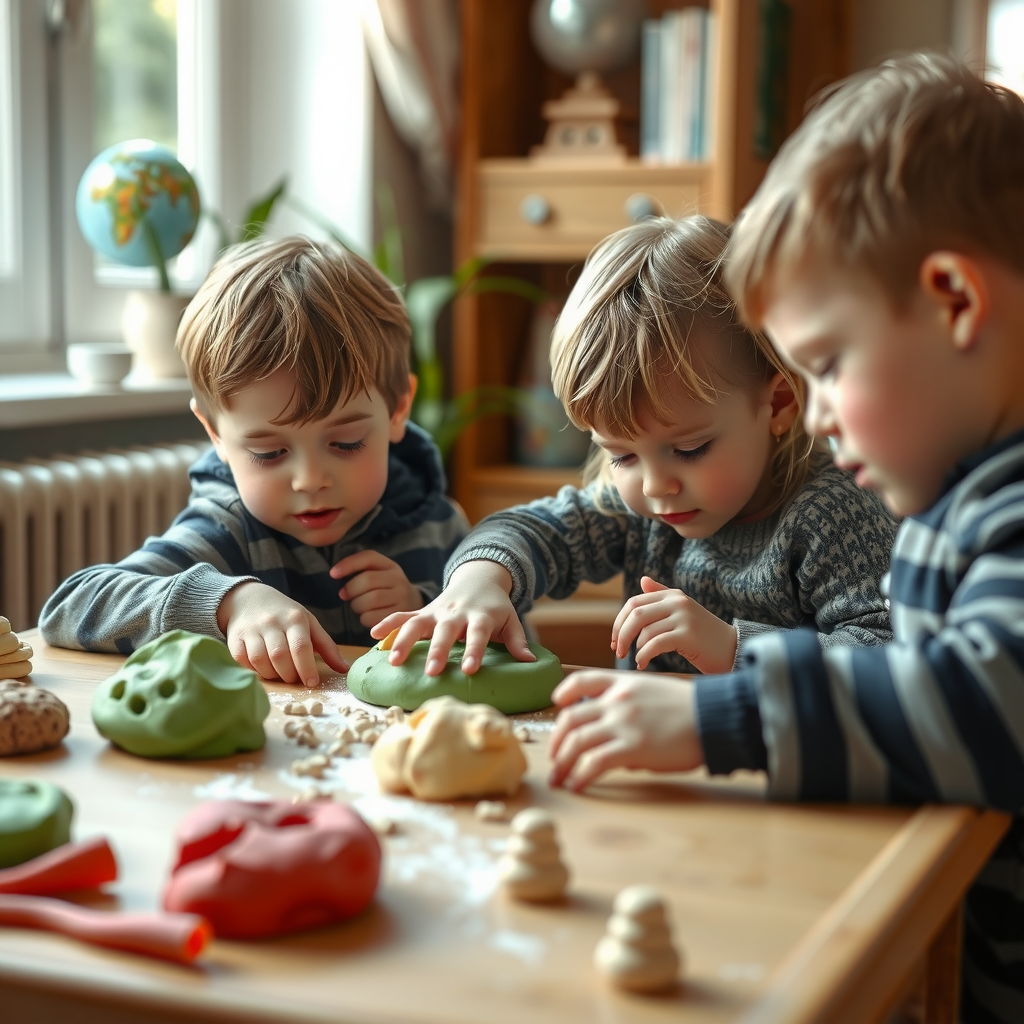
- Roll + Slice Kitchen:
This one is one of my favourites, I remember doing this as a kid and I loved it, my kids take after me with that so I’m lucky I get to relive this through them. I used to call it “Chicken Soup for the Dough” 🤣
This activity is super simple and can last as long you wish depending on how complex your prep is. So first things first grab a cutting board you are ready to let go of or some baking paper will work just as well. Then some child-friendly knifes, cutting blocks, a butter spoon or even a plastic cutlery, whatever you wish your child to cut with – safely! And when in doubt, be sure to supervise and teach proper cutting safety rules while at it, even with child cutting equipment, as reinforcement with safety is never enough.
For younger children be sure to take a few minutes to make a few dough rolls for cutting. I tend to make these fruits and veggie shaped (ex: carrots, potatoes, leeks, bananas). Be sure to name them and then have your kids cut them.
For older children I find they enjoy creating the rolls more and shaping and decorating the dough before chopping it all up.
Bonus points if you have a toy kitchen or even bowl for them to “cook it” all up later. Enjoy!

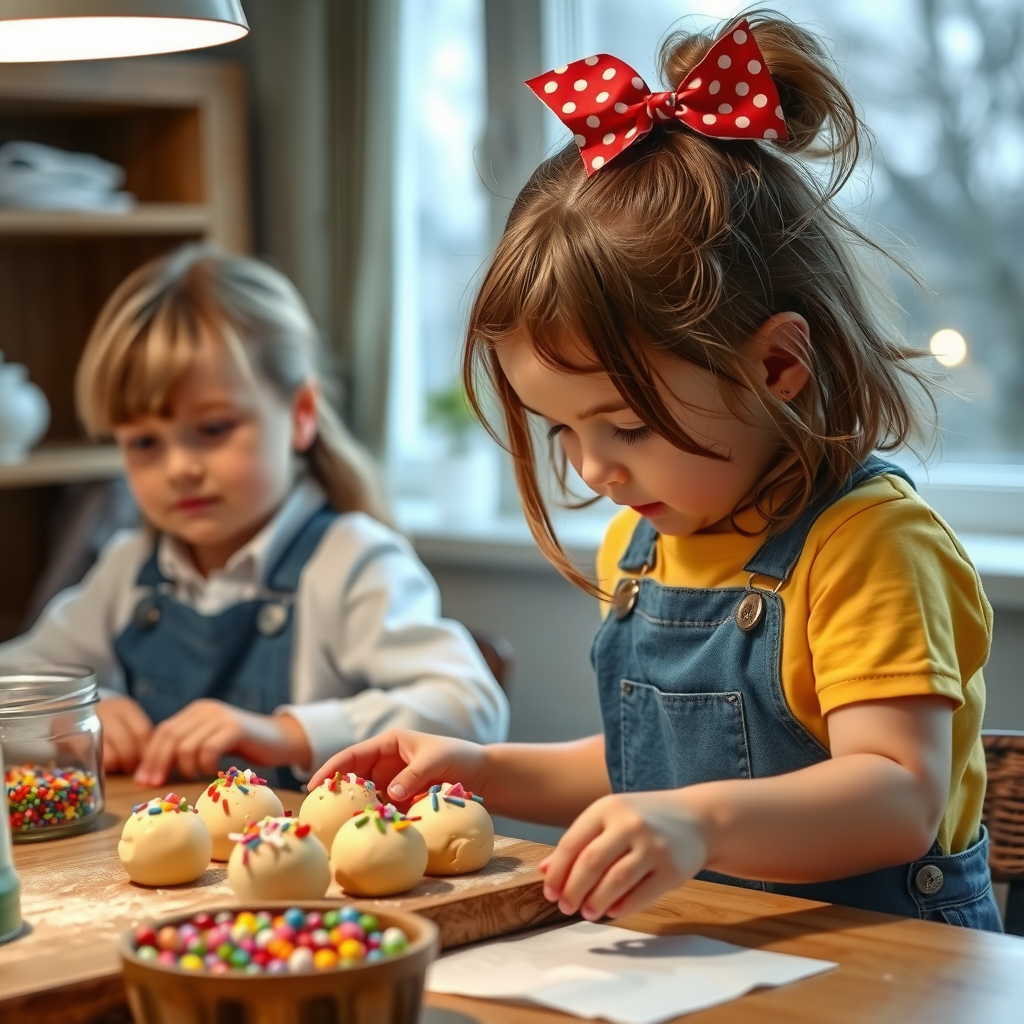
- Cupcake Shop:
Another food as playdough idea but this variation on its own gives the kids plenty of time to play and be creative with the dough. Just be sure to be checking that none of the dough is being eaten as it may look suspiciously delicious!
For this activity you will need cupcake liners, preferably disposable but little silicone ones like for muffins will work as well. In a pinch I have used egg cartons and find this can be used as a whole (like a cupcake tray, but its easy to cut as well and looks like little ice cream cones, which is a good variation for this type of play).
Then help your kids roll playdough into little balls (younger kids) or have them roll it up themselves (older kids). Then in a little tray, egg carton or plate add stuff to decorate the cupcakes. For this I like to use all types of sprinkles at hand, or pompoms and glitter. I also like to combine this activity with colour paper/cartstock hole punching as it gives great confetti to decorate with.
Not playdough related, but I suggest trying this with leftover cake and eatable sprinkles and have your kids create their own cupcakes or cake pops as a real treat!
Now making this a shop activity is simple, once the cupcakes are done, encourage your kids to display them and then roll up little bits of clay and push them down with your finger to flatten them to make coins (optional), my kids play shops without exchanging sometimes but sometimes they will insist and its best to have a plan if you dont have toy money at hand. And there it is! Your cupcake shop is set up for a great time!
- Press + Match:
I saw this sometime ago and had so much fun setting up. Now if your kids are younger they may not be ready (or willing) yet, but your preschooler may enjoy helping you out here, so keep that in mind.
First you will need to source some plastic figurines, different blocks, trinkets or shapes. The perfect thing for this are those teeny tiny plastic toys you always step on, come from a kinder surprise or mcdonalds happy meal and at some point you may have considered a choking hazard (plastic toy soldier, I’m looking at you). These will give you the best impressions, at some point i wondered if that was its original purpose all along.
The size and variations for this are up to you, so you may want to make them tiny or larger depending on what you’ve got. I found i get the best result for this when I choose groups of things or rather themes, like dinossaurs, fruits, shape moulds, themed cookie cutters, etc. The more similar in theme the more difficult or engaging it will be.
You will then roll out some dough, a great trick for this is to grab a large piece of baking paper and half it. Then roll up a ball of dough, stick it in between the baking paper and roll out your dough. This will give you a smooth and even layer of dough, if you want to remove creases, slowly lift the top paper and lay it back down smoothly, turn it over and roll again as you wish.
Once you have your layer of dough, lift the top of the baking sheet and then lightly press your objects into the dough to create a type of mould or impression. Then mix up all of the items you have pressed and lay them nearby the layer or in a little bowl or bag.
The idea is to match the object to its impression/shape. Once your child matches them all up just roll your layer into a ball and start over with new objects or mix up the ones you have in various ways. Have fun pressing and matching!

- Playdough Color Sort/Mix:
Another super simple way of playing with playdough, and a kind of way to get your kids excited about playdough while practising and learning skills. Once I went to stay and play where the childminder simply put playdough and let the children at it, these were 1-2 year olds and had no idea what to do with it. All it took was a few minutes of me rolling and splitting up the clay for all of them to do the same. Main point is: children mimic visual guidance, ideally by a parent (or caretaker) as an invitation to play. Seeing an example in play rather than exploring blindly takes the focus out of the taste stage pre-toddler babies tend to have and your nervous state out of the need to stop them.
Setting this up is easy and simple. Take different colour dough and roll up and pinch up smaller balls of dough, make them as little or big as you wish. Keep the colours simple, don’t choose more than 6, the less complicated the better. I like to start with red, blue, yellow are a great start.

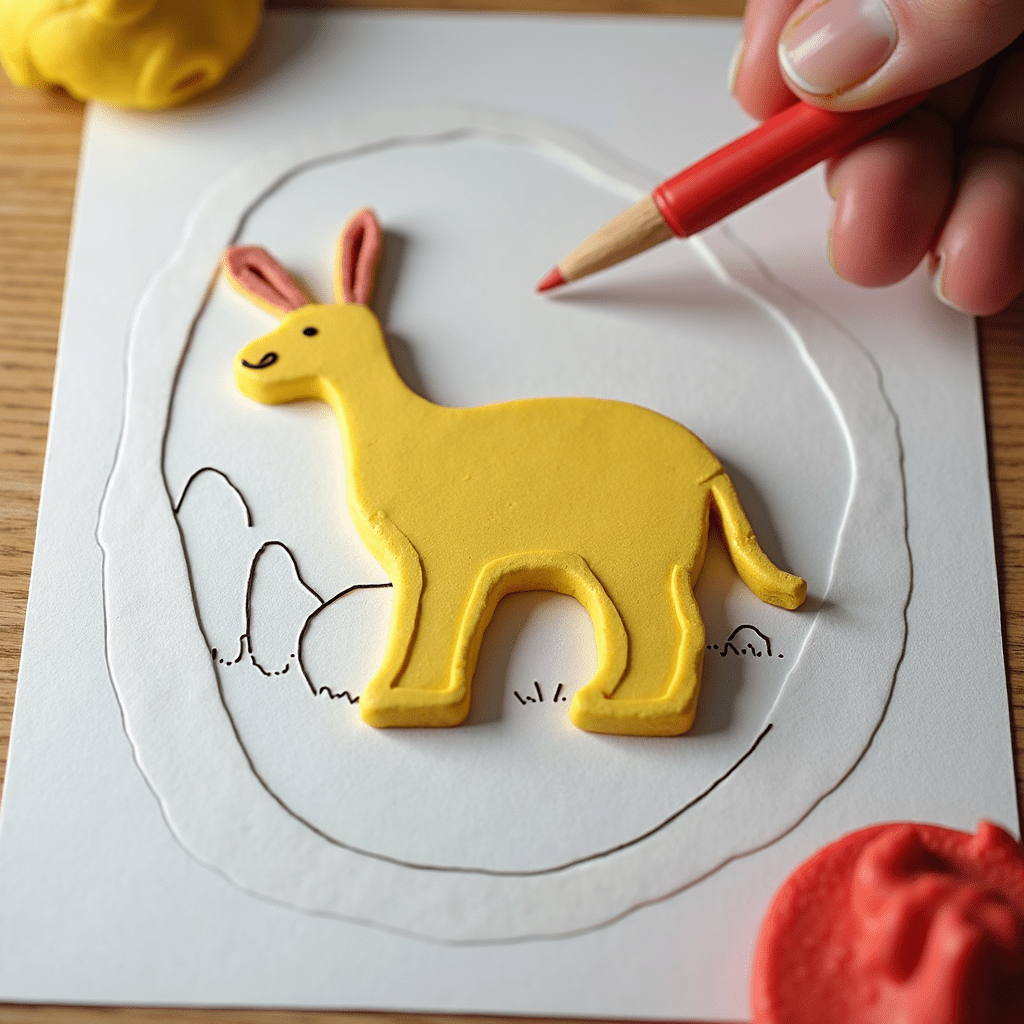
- “Draw” with Clay:
This is something I only tried once I had children and I never figured how come I hadn’t heard about doing this with dough before. The idea is to fill an area in colour with dough relief layer. This is done by lightly pasting it on and pressing it in. When I was young and played with clay we never tried that and I was excited to give it a go.
You can begin this activity by prepping some baking paper on a table. If you are using cardstock as a base you won’t need an extra layer, most playdough doesn’t stain but…you never know.
Then take your base or rather drawing, and set it down on the table for your child. The image needs to be simple at first, think Star, circle, square, triangle. You can do this by drawing a large shape on a white sheet of paper or print an empty outline of that shape on printer paper. And as your child progresses you can draw or find more complex images to colour or fill.
Then the rest is just helping your child to figure out how they want to fill up the space. They can:
-roll it up and flatten it using a small roller, or by using pencil/crayon as a roller.
-making tiny circles/little balls and filling in the space by placing them side to side to create volume.
-use an ice cream stick or a plastic spoon to paste the dough on, like a build up method, resembling frosting.
This activity is a crowd pleaser at my family craft table and i hope you can enjoy it on yours!
Follow more activity ideas like this by subscribing below.
Happy crafting! 💕

Leave a comment